
Baking is an artform that takes practice and patience but this delicious recipe is the perfect artican bread for the amateur baker!
Jump to Recipe


After a long few months of working abroad with no real kitchen at my disposal and finally a few months off to enjoy the finer things of life, the first thing I truly desired to do was bake. Fresh homemade bread was the discipline I desired to retackle. Never a perfect or consistent baker, I still spend at least a half-day of research entertainment looking for the easy answer to the perfect loaf. I dive into the interwebs scouring blog sites or trends, I follow multiple ‘real’ bakers on IG for constant inspiration (like BreadAhead ) , and often revisit one of my many food/cookbooks and even find this a great justification for purchasing a new one for my collection (like Michael Pollan’s classic Cooked ). Always in search of new revelations about the ancient tradition of bread making; a mix of magic & chemistry turning very basic ingredients into something heavenly satisfying and devilishly addictive.
As of today, this recipe is “it”… the perfect artisan bread for the amateur baker with that chewy flavor balanced interior and crusty brown exterior. A recipe that has basically five ingredients, no kneading, no fancy pans, and so simple all your amateur baker feelings will vanish in a poof of steam like wafts from that hot fresh loaf.
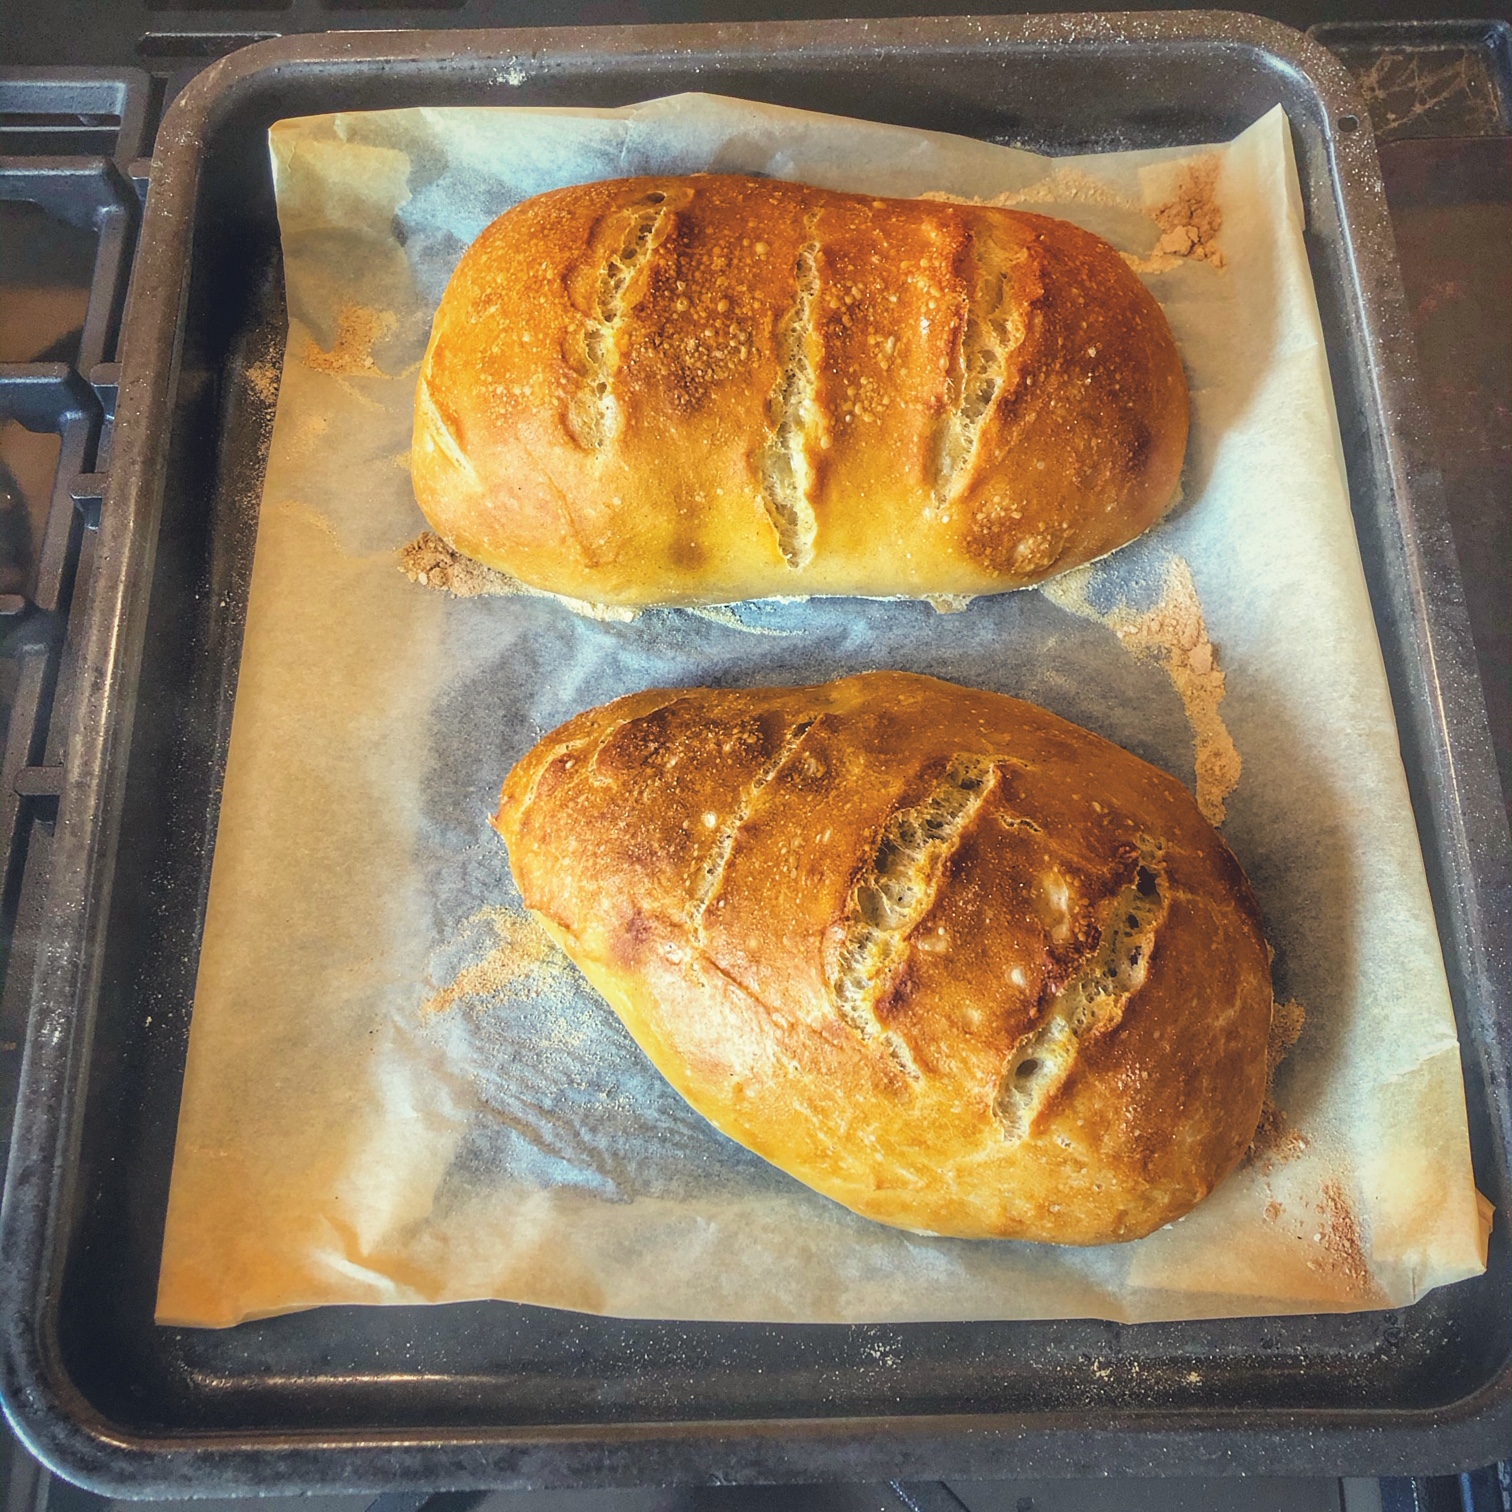
My loaves today may not look perfect but the sure did taste it!

Artisan Bread For The Amateur Baker
Ingredients
- 3 1/4 cup flour or 420g if weighing your volume (i used plain flour but using bread flour will give you a chewier texture that many love)
- 2 tsp instant yeast
- 2 tsp salt sea salt is best, as regular table salt has little flavor value
- 1 1/2 cup water cool not warm as most bread recipes call for
- pinch sugar i like just a small pinch for added flavor balance
Instructions
- In a large glass bowl, whisk together all the dry ingredients, then gradually pour in water and blend with a rubber spatula. The dough will gradually come together and will actually be a little sticky. Keep stirring until all the dry bits are moist.

- Cover bowl tightly with plastic wrap. Leave sit in a cool place (even a refridgeratorif your kitchen is usually warm) to rise for at least 3 hours but you can also leave it for up to 3 days! I mix mine in the evening after dinner and leave just over night.

- After you've let it rise grab your baking pan. Either a non-stick pan with a light dusting of cornmeal or a regular pan lined with baking parchment paper and lightly dusted with flour and cornmeal.

- Scrape the dough from the sides of the bowl and cut in half. Shape the dough either into oblong loafs or round loafs and place onto the prepared pans. Cover loosely and let sit another 30-45 minutes.

- Preheat oven to 475 degrees F or 246 degrees C. While preheating place a flat but sided pan on the bottom shelf of the oven to warm up as well.Uncover bread, and slit the tops of the bread.Now comes the magic! Place the pan of bread in the oven (middle shelf), and then quickly but carefully pour a few cups of water into that hot pan already in the oven and quickly close the oven door to capture the steam inside. Careful not to burn your self.
- Bake for 25 minutes. You'll see the exterior becoming brown and crusty due to the steaming process taking place. You will know it's done by thumping on the bread top and hearing a hollow sound and also just taking a peek on the underside to make sure it's 'looking' done.

- Tip: sometimes after a peek at the bottoms that maybe still seem a bit too pale I like my loaves just a little bit 'more' done, so i will cover the top of the pan loosely with foil and place back in the oven for 5-10 more minutes to make sure the inside is good and done.
- Tip: Let your bread rest!! As it cools on the pan, the inside will still be cooking just a bit so let it rest on the pan for a good 10 minutes, then prop the loaves up on the pan edge to allow the bottoms to cool as well so they dont get moist.
- Tip: keep fresh bread longer by storing wrapped in paper!
- Tip: use to make THE BEST grilled Gruyere & Caramelized Onion Grilled Cheese

And if you’re looking for another ‘easy’ and delish baking recipe to add to the dinner table, check out my Jiffy Cake Yeast Roll Recipe .